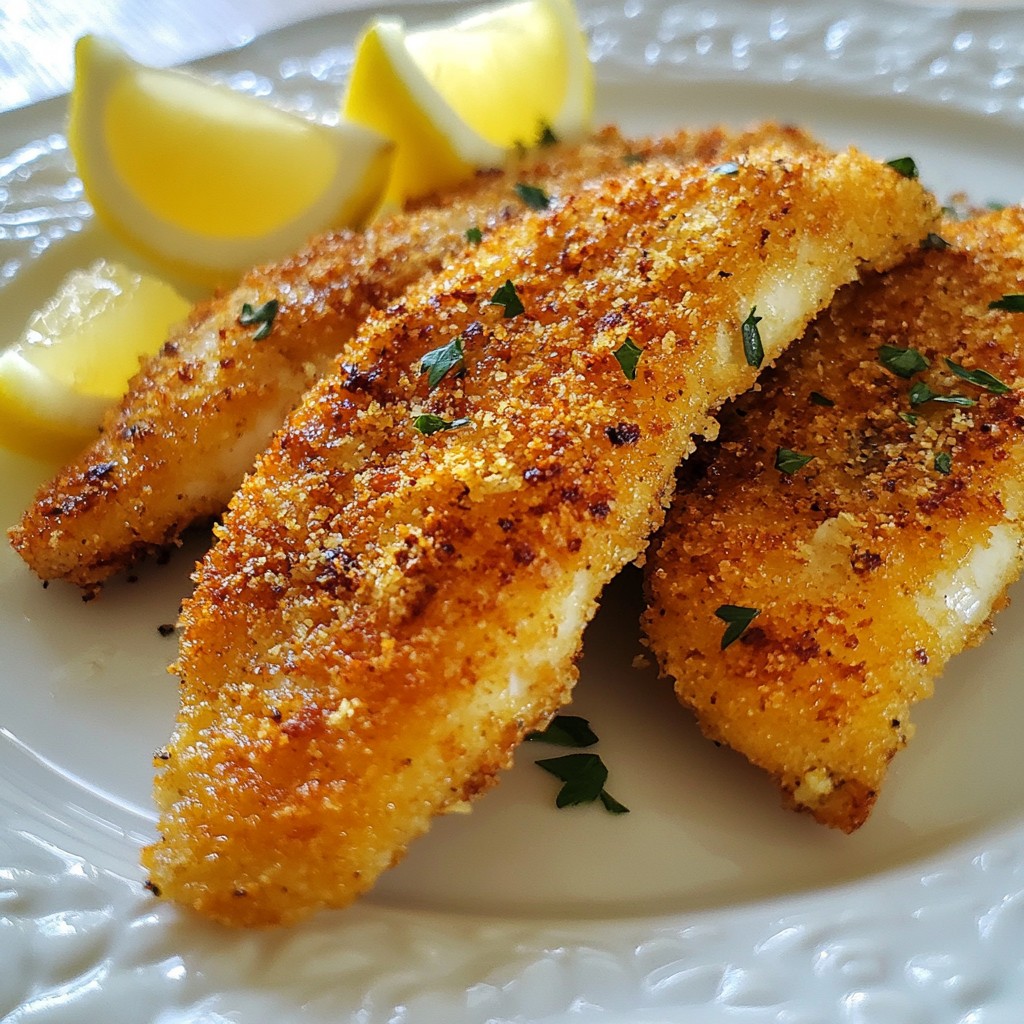
If you're looking for a quick and tasty meal, you’ve found it! This Crispy Parmesan Crusted Tilapia dish packs a punch of flavor and is super easy to make. With just a few simple ingredients, you’ll impress your family and friends in no time. Get ready to discover how to turn plain tilapia into a crunchy delight that will have everyone asking for seconds! Let's dive in!
Why I Love This Recipe
- Flavorful Crunch: The combination of crispy Parmesan and breadcrumbs creates a delightful crunch that enhances the mild flavor of the tilapia.
- Quick and Easy: This recipe is perfect for busy weeknights, taking only 30 minutes from prep to plate, making dinner a breeze.
- Healthy Option: Tilapia is a lean protein and baking instead of frying keeps this dish light and healthy without sacrificing flavor.
- Customizable: You can easily modify the seasonings or add your favorite herbs to the crust for a personal touch that suits your taste.
Ingredients
Main Ingredients
- 4 tilapia fillets
- 1 cup grated Parmesan cheese
- 1 cup breadcrumbs (preferably panko)
Seasoning Ingredients
- 1 teaspoon garlic powder
- 1 teaspoon onion powder
- 1 teaspoon dried parsley
- 1/2 teaspoon salt
- 1/2 teaspoon black pepper
Binding Ingredients
- 2 large eggs
- 2 tablespoons milk
- 1/4 cup all-purpose flour
- Olive oil spray or melted butter for greasing
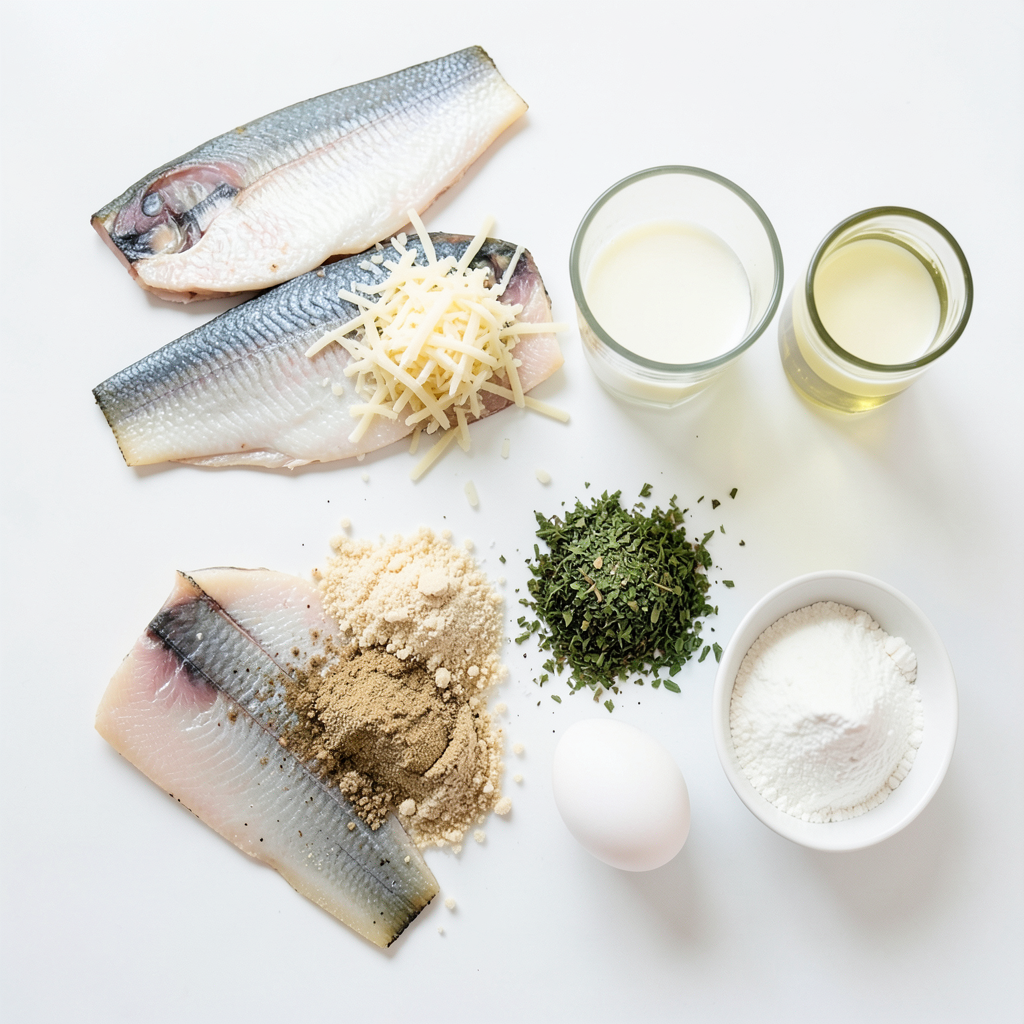
Gathering the right ingredients is key to making crispy Parmesan crusted tilapia. The tilapia fillets serve as the base for this dish. They are mild and flaky, making them perfect for soaking up flavors.
Next, we need cheese and breadcrumbs. Grated Parmesan cheese adds a rich, salty taste. Panko breadcrumbs give that extra crunch we all love. Choose panko for the best texture.
For seasoning, we blend garlic powder, onion powder, dried parsley, salt, and black pepper. These spices enhance the flavor without being overpowering. They work together to create a tasty crust.
Now, we need binding ingredients. Eggs and milk help the breading stick to the fish. All-purpose flour creates a dry surface, making the crust crispier. Lastly, use olive oil spray or melted butter to grease your baking sheet. This step ensures the fish doesn’t stick and gets a nice golden finish.
With these ingredients ready, you're all set to create a delicious dish that impresses everyone at the table!
Step-by-Step Instructions
Prepping the Oven and Baking Sheet
- Preheat the oven to 425°F (220°C).
- Prepare the baking sheet with parchment paper. This will help the fish not stick.
Preparing the Coating Mixture
- In a shallow dish, combine 1 cup of grated Parmesan cheese, 1 cup of breadcrumbs, 1 teaspoon of garlic powder, 1 teaspoon of onion powder, 1 teaspoon of dried parsley, 1/2 teaspoon of salt, and 1/2 teaspoon of black pepper. Mix it well.
- In another shallow bowl, whisk together 2 large eggs and 2 tablespoons of milk until smooth.
Dredging the Tilapia
- Take 4 tilapia fillets and coat each in 1/4 cup of all-purpose flour. Make sure to shake off any extra flour.
- Dip the floured fillet into the egg mixture. Let any excess drip off.
- Press the fillet into the breadcrumb mixture. Ensure it is well-coated on all sides.
Baking the Fillets
- Place the coated fillets on the prepared baking sheet.
- Spray the tops lightly with olive oil or melted butter for added crunch.
- Bake in the preheated oven for 12-15 minutes. Look for a golden crust and make sure the fish is cooked through.
Tips & Tricks
Achieving Perfect Crispiness
- Use panko breadcrumbs for extra crunch. Panko gives your tilapia a nice texture.
- Lightly spray with olive oil before baking. This helps create a golden crust.
Serving Suggestions
- Best served with lemon wedges. The juice brightens the dish.
- Pair with a fresh garden salad. This adds color and freshness to your meal.
Common Mistakes to Avoid
- Not drying the tilapia before coating. Moisture can make the crust soggy.
- Skipping the flour coating step. This helps the egg and breadcrumbs stick well.
Pro Tips
- Choose the Right Breadcrumbs: Using panko breadcrumbs will give you a much crispier texture compared to regular breadcrumbs, enhancing the overall crunch of your tilapia.
- Don't Skip the Flour: Dredging the tilapia in flour before the egg wash helps the egg adhere better, ensuring a more even coating of the Parmesan-breadcrumb mixture.
- Adjust the Cooking Time: Keep an eye on the tilapia while it bakes, as thinner fillets may cook faster. Aim for a golden crust and cooked-through fish to prevent it from drying out.
- Experiment with Seasonings: Feel free to customize the seasoning blend in the breadcrumb mixture. Add some smoked paprika or cayenne pepper for a spicy kick.
Variations
Using Different Fish
You can swap tilapia for cod or haddock. Both fish work well in this recipe. Cod has a mild flavor and firm texture. Haddock offers a slightly sweeter taste. Adjust the cooking time if needed, as thicker fish may take longer to bake.
Flavor Enhancements
Want to spice things up? Add cayenne pepper for heat. Just a pinch can make a big difference. You can also mix in fresh herbs like basil or thyme. These herbs brighten the dish and add freshness. Experimenting with these flavors can make your meal unique.
Alternative Breading Techniques
Looking for gluten-free options? Try a nut crust. Almonds or walnuts finely ground can work great. If you want a fun twist, use crushed chips instead of breadcrumbs. This gives a crunchy texture and adds flavor. Both methods allow for creativity while keeping the dish tasty.
Storage Info
Refrigeration Guidelines
To store leftovers, place the tilapia in an airtight container. Make sure it cools to room temperature first. This keeps the fish fresh for up to three days. If you want the best taste, eat it sooner.
Freezing Instructions
You can freeze cooked tilapia for longer storage. Wrap each fillet tightly in plastic wrap, then in aluminum foil. This prevents freezer burn. You can keep it in the freezer for up to three months. Remember to label the package with the date.
Reheating Recommendations
To reheat, use your oven for crispiness. Preheat the oven to 350°F (175°C). Place the fish on a baking sheet. Heat for about 10 minutes, or until warm. This keeps the crust nice and crunchy. Avoid using the microwave, as it makes the fish soggy.
FAQs
Can I use frozen tilapia?
Yes, you can use frozen tilapia. First, thaw the fish safely. The best way to thaw is overnight in the fridge. If you need it faster, place the fillet in a sealed bag and run it under cold water for about 30 minutes. Avoid using warm water, as it can affect the texture of the fish. After thawing, be sure to pat the tilapia dry with paper towels for best results.
How do I ensure the crust doesn’t fall off?
To keep the crust on, follow a few simple tips. First, make sure the tilapia is dry before you coat it. Moisture can make the coating slide off. Second, press the fish firmly into the breadcrumb mixture. This helps the coating stick well. Lastly, let the coated fillets rest for a few minutes before baking. This allows the crust to set.
What side dishes pair well with crispy Parmesan crusted tilapia?
Crispy Parmesan crusted tilapia pairs well with light and fresh sides. Here are some ideas:
- A fresh garden salad with mixed greens
- Steamed vegetables like broccoli or asparagus
- Roasted potatoes or sweet potatoes
- A simple lemon vinaigrette drizzled over the salad
These sides balance the richness of the fish and enhance the meal’s overall flavor.
This blog post showed you how to make crispy Parmesan crusted tilapia. We covered the ingredients, from tilapia fillets to seasoning, and binding agents. You learned step-by-step instructions for prepping, coating, and baking. I also shared tips to ensure perfect crispiness and variations to keep it fun. Remember to store leftovers correctly and reheat them right for the best taste. Enjoy your cooking adventure!